How to Create an Angular App Using Yeoman and Deploy It to Heroku
Step 1: Install Yeoman
Yeoman is a tool to help easily create new projects. You can use its generators to create all different types of web apps (Angular, Backbone, Ember, and many more).
Having node and npm installed on your computer is a requirement for using Yeoman. If you do not have the installed on your computer, follow these installation instructions here.
Once node and npm are installed, install Yeoman by running the following:
npm install -g yo
Step 2: Create an Angular App using the Yeoman Angular Generator
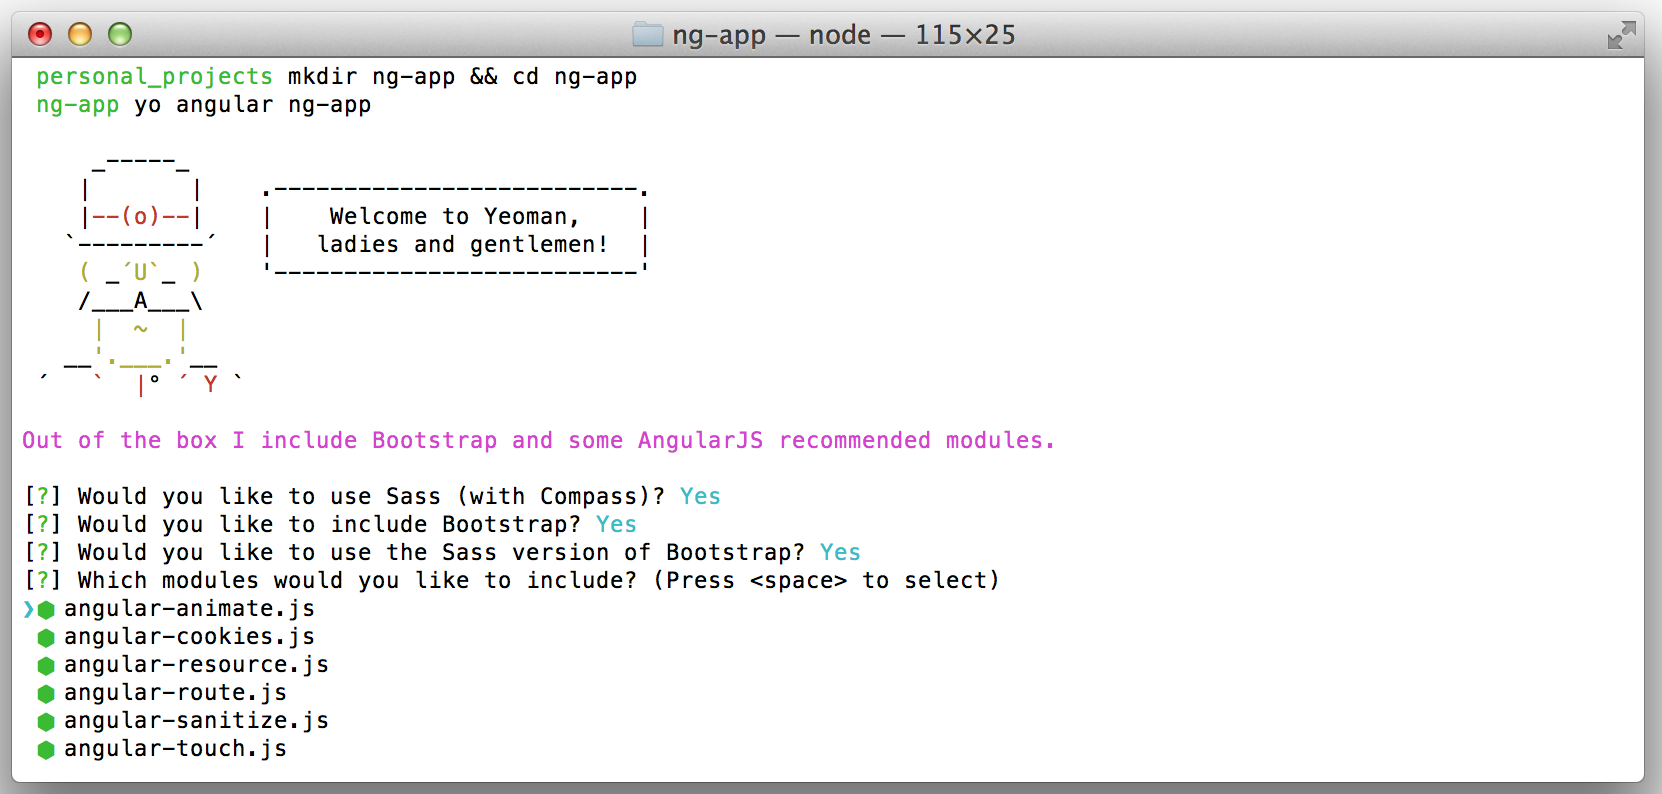
Now that Yeoman is installed, you can easily create an Angular app by following the instructions below. These are taken from the yeoman angular generator repo readme, which can be found here.
npm install -g generator-angular
Make a new directory and cd into it:
mkdir project-name && cd project-name
Create the angular app (the app name parameter is optional):
yo angular app-name
You will be asked if you want yeoman to install SASS (with Compass), Twitter Bootstrap, and include various angular modules. You can learn more about these opitons under the “Configure your generator” here. Below I do not install SASS or Bootstrap, but do include the various angular modules, so I type y, y, and then press enter.
After letting yeoman do its magic, you can run the app locally with the following command:
grunt serve
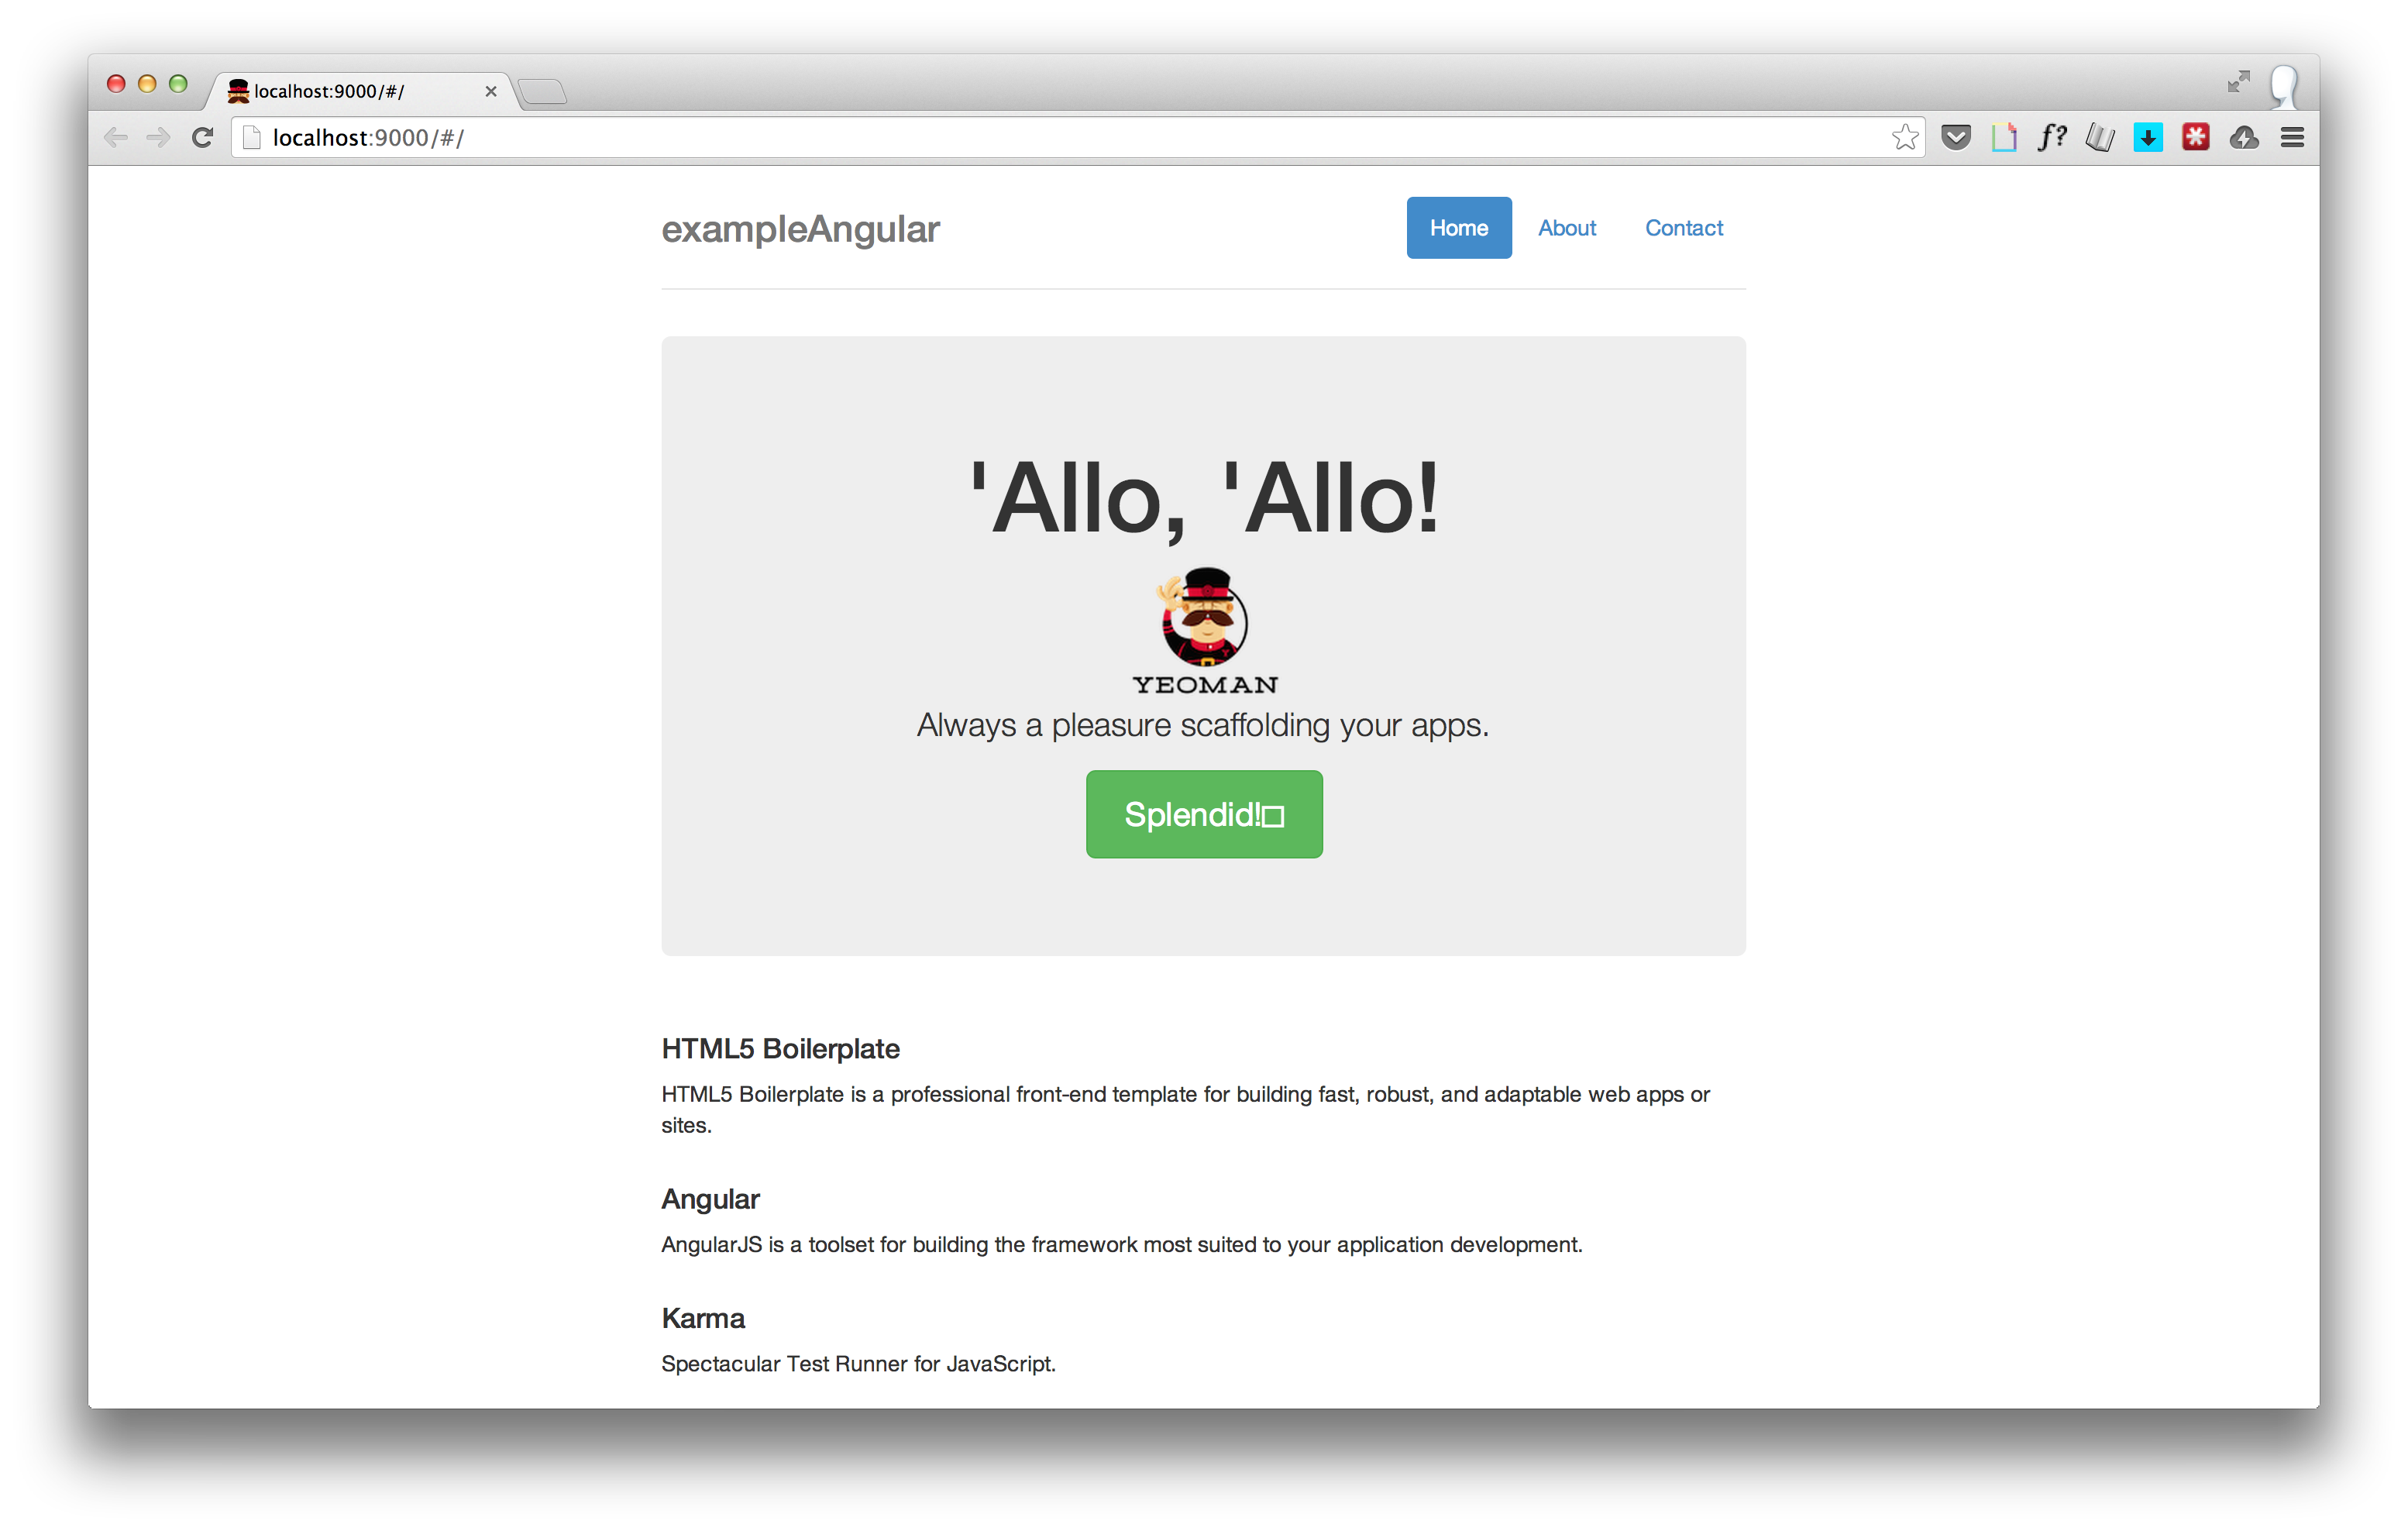
You should now see something like this on localhost:9000:
Step 3: Add a Server to the App
This step is taken primarily from “Brad Barrow’s](https://twitter.com/foxwisp) awesome tutorial, with some slight updates to make it work using the latest version of Express (a web development framework for node.js).
As Brad explains, the angular app created by Yeoman is static, so we can’t expect it to work on Heroku out of the box. In order for Heroky to be able to serve the pages for us we need to add a server to the app.
The server’s dependencies include Gzippo, Morgan, and Express.
To install these dependencies run:
npm install gzippo express morgan --save
Next, create a server file called web.js in the root directory /web.js.
var gzippo = require('gzippo');
var express = require('express');
var morgan = require('morgan');
var app = express();

app.use(morgan('dev'));
app.use(gzippo.staticGzip("" + __dirname + "/dist"));
app.listen(process.env.PORT || 5000);
Now that the server file has been created, we need grunt to build the /dist directory that we are serving in line 6 of our web.js file.
We can create this directory by running:
grunt build
Step 4: Add Heroku Dependencies
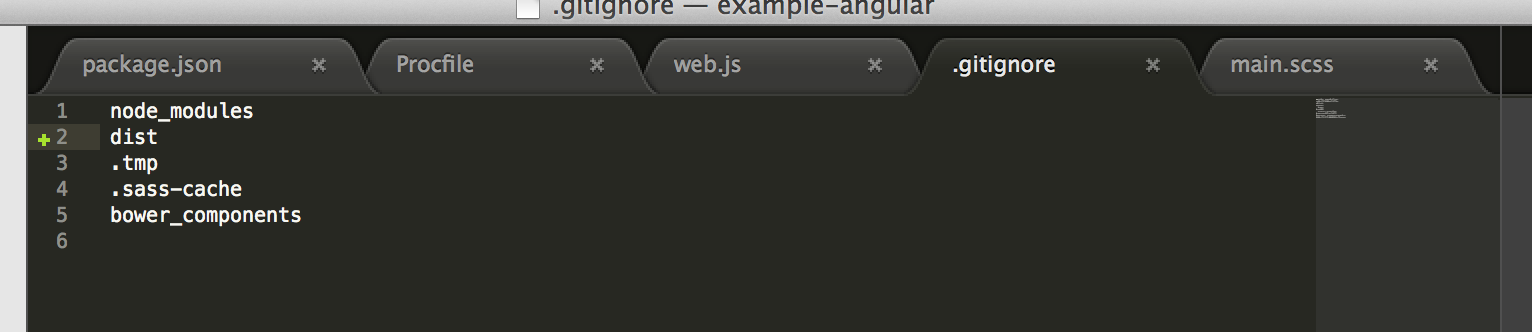
By default the dist that we just createdis included in the .gitignore file:
Since Heroku uses git to deploy, we need to remove dist from the .gitignore file. As Brad explains nicely in his tutorial:
“It’s worth noting that the dist/ directory is ignored by git by default (they assume you only want to version control the development project, not the compiled app). Since Heroku uses git to deploy, we’ll need to remove dist/ from .gitignore to make sure it gets committed.”
Note: While this gets the app up and running on Heroku, it is bad practice to version control the compiled app. I looked around but couldn’t figure out how to compile an angular app on the server on Heroku. If anyway knows of a good way to do this I’d love to hear from you and add it to this post!
Next, we need to turn the project directory into a git repo by running:
git init
In addition to making it a git repo we need to create a Procfile, which Heroku uses to understand how to start the app.
Create the Procfile in the root directly just like the web.js file and inlcude the following line, which tells Heroku to use NodeJS to run our web.js file.
web: node web.js
The next step requires that you have a Heroku account and the Heroku Toolbelt installed. You can get setup with a Heroku account here and download the Heroku Toolbelt here.
Once you have a Heroku account and the Heroku Toolbelt installed, you can create a Heroku app by running:
heroku create your-app-name
The next step is to commit all the code and push it to Heroku:
git add .
git commit -m "Create angular app using Yeoman"
git push heroku master
You need at least 1 web worker to get your app running. You can scale your Heroky web worker to 1 by running the following command:
heroku ps:scale web=1
Ta da, now your app should be running at your-app-name.herokuapp.com. To quickly open your app run:
heroku open
Let me know if you have any questions or any problems while setting up and deploying your app!